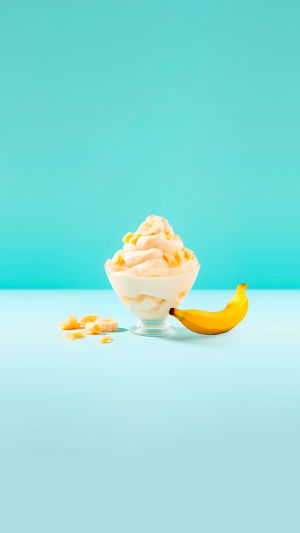
Banana ice cream cups are a delightful way to enjoy the rich, creamy goodness of ice cream with the natural sweetness and flavor of ripe bananas. This frozen dessert is not only delicious but also simple to make at home.
In this article, we’ll walk through the ingredients and production steps to create your very own banana ice cream cup.
<h3> Ingredients:</h3>
<b> 1.Ripe Bananas </b> – 4 medium-sized bananas
<b> 2.Heavy Cream </b> – 1 cup
<b> 3.Whole Milk </b> – 1 cup
<b> 4.Granulated Sugar </b> – ½ cup
<b> 5.Vanilla Extract </b> – 1 teaspoon
<b> 6.Lemon Juice </b>– 1 tablespoon
<b> 7.Salt </b>– ¼ teaspoon
<b> 8.Optional Toppings </b> – Chopped nuts, chocolate chips, caramel sauce, or fresh fruit
Instant Quick And Healthy Banana Ice cream ( No Ice cream Machine) Recipe
Video by Veggie Recipe House
<h3> Production Steps:</h3>
<b> 1.Prepare the Bananas:</b> Start by peeling the bananas and cutting them into small chunks. This will help them blend more easily later on. Place the banana chunks in a single layer on a baking sheet lined with parchment paper and freeze for at least 2 hours or until completely frozen. Freezing the bananas beforehand helps achieve a creamy texture in the final product.
<b> 2.Blend the Bananas:</b> Once the bananas are frozen, transfer them to a food processor or high-powered blender. Blend the bananas on high until they become smooth and creamy. You may need to stop occasionally to scrape down the sides of the bowl. If you’re using a blender, you might need to add a splash of milk to help it blend more easily.
<b> 3.Combine the Dairy Ingredients:</b> In a mixing bowl, whisk together the heavy cream, whole milk, granulated sugar, vanilla extract, lemon juice, and salt. The sugar should be fully dissolved into the mixture. The lemon juice is added to enhance the banana flavor and prevent browning.
<b> 4.Mix Bananas and Cream: </b> Add the smooth banana puree to the cream mixture and stir gently until everything is well combined. The mixture should be smooth and creamy. If you prefer a bit more sweetness or flavor, you can adjust the sugar or vanilla extract at this point.
<b> 5.Churn the Ice Cream:</b> Pour the banana mixture into an ice cream maker. Follow the manufacturer’s instructions for churning. Typically, this process takes about 20-30 minutes. The ice cream is ready when it reaches a soft-serve consistency. If you don’t have an ice cream maker, you can pour the mixture into a freezer-safe container and stir every 30 minutes for about 2-3 hours to break up any ice crystals.
<b> 6.Freeze the Ice Cream:</b> Once churned, transfer the banana ice cream to a freezer-safe container with a lid. Freeze for at least 2 hours or until firm. This step ensures that the ice cream achieves a scoopable consistency.
<b> 7.Serve and Enjoy: </b> Scoop the banana ice cream into cups or bowls. Add your favorite toppings, such as chopped nuts, chocolate chips, or a drizzle of caramel sauce. Serve immediately and enjoy the creamy, banana-flavored delight!
Lykkers, making banana ice cream cups at home is a fun and rewarding process. With just a few simple ingredients and steps, you can create a refreshing treat that is perfect for any occasion. Whether you’re serving it at a summer gathering or as a sweet ending to a meal, homemade banana ice cream cups are sure to be a hit.


