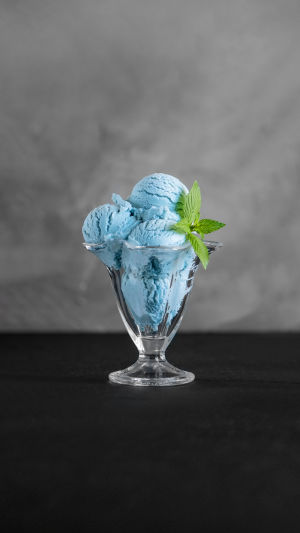
<h3> Let's Make Ice Cream Together!</h3>
Hey, Lykkers! Are you ready to dive into the sweet, creamy world of homemade ice cream?
There's something magical about crafting our own flavors and enjoying a scoop (or three!) on a warm day. So grab your aprons, and let’s make some delicious ice cream together!
<h3> The Joy of Homemade Ice Cream </h3>
Making ice cream is a cherished tradition in our kitchen. We still remember the first time we attempted it—there were spills, laughter, and an unforgettable kitchen disaster involving melted chocolate and a runaway bowl! But that’s the beauty of cooking; it’s about experimenting and enjoying the process. Today, we're going to share an easy, no-churn vanilla ice cream recipe that will have you feeling like a pro in no time.
Ice Cream: The Only Recipe You'll Ever Need | Melissa Clark | The New York Times
Video by The New York Times
<h3> Ingredients You’ll Need </h3>
Here’s what we’ll need to whip up our delicious creation:
• <b>2 cups heavy cream </b>
• <b>1 cup sweetened condensed milk </b>
• <b>1 teaspoon pure vanilla extract </b>
• <b> A pinch of salt </b>
Feel free to get creative! You can add mix-ins like chocolate chips, crushed cookies, or fresh fruit to make it your own.
<h3> The Steps to Ice Cream Bliss </h3>
<b> Step 1: Whip It Good!</b>
First, let’s grab a large mixing bowl. We’ll pour in the 2 cups of heavy cream and start whipping it until it forms stiff peaks. This is where the magic begins! We can use a hand mixer or a stand mixer—whatever we have on hand. Remember to take a moment to appreciate how light and airy it becomes.
<b> Step 2: Mix in the Sweetness </b>
Once our cream is whipped to perfection, we gently fold in the sweetened condensed milk, vanilla extract, and a pinch of salt. Folding is crucial here; we want to keep all that airy goodness intact. This step is also when we can add any mix-ins we desire. We love tossing in some crushed cookies or a swirl of chocolate syrup. Yum!
<b> Step 3: Freeze and Wait </b>
Now it’s time for our mixture to take a long, chilly nap in the freezer. We’ll transfer our creamy concoction into a lidded container, smoothing the top with a spatula. Let it freeze for at least 6 hours—or if you’re like us, overnight is the way to go for maximum creaminess!
<b> Step 4: Scoop and Enjoy </b>
The next day, it’s finally time to dig in! We’ll take our container out of the freezer and let it sit for a few minutes to soften just a bit. Then comes the fun part: scooping! We Irecommend using a warm ice cream scoop for those perfectly shaped balls of ice cream.
<h3> The Perfect Pairings </h3>
As we scoop, let’s think about our favorite toppings. Hot fudge, sprinkles, or fresh fruit can elevate our ice cream experience. You might even consider making an ice cream sundae bar for a fun gathering with friends or family.
<h3> Sharing the Love </h3>
There’s nothing like sharing homemade treats with loved ones. Each bite of our homemade ice cream will remind us of the joy and laughter in our kitchen. Whether we’re enjoying it on a sunny afternoon or as a sweet treat after dinner, this ice cream will always hold a special place in our hearts.
So, Lykkers, what flavors are you thinking about trying? Let’s keep the ice cream adventures going—share your ideas, and who knows? We might just whip up your flavor next!


